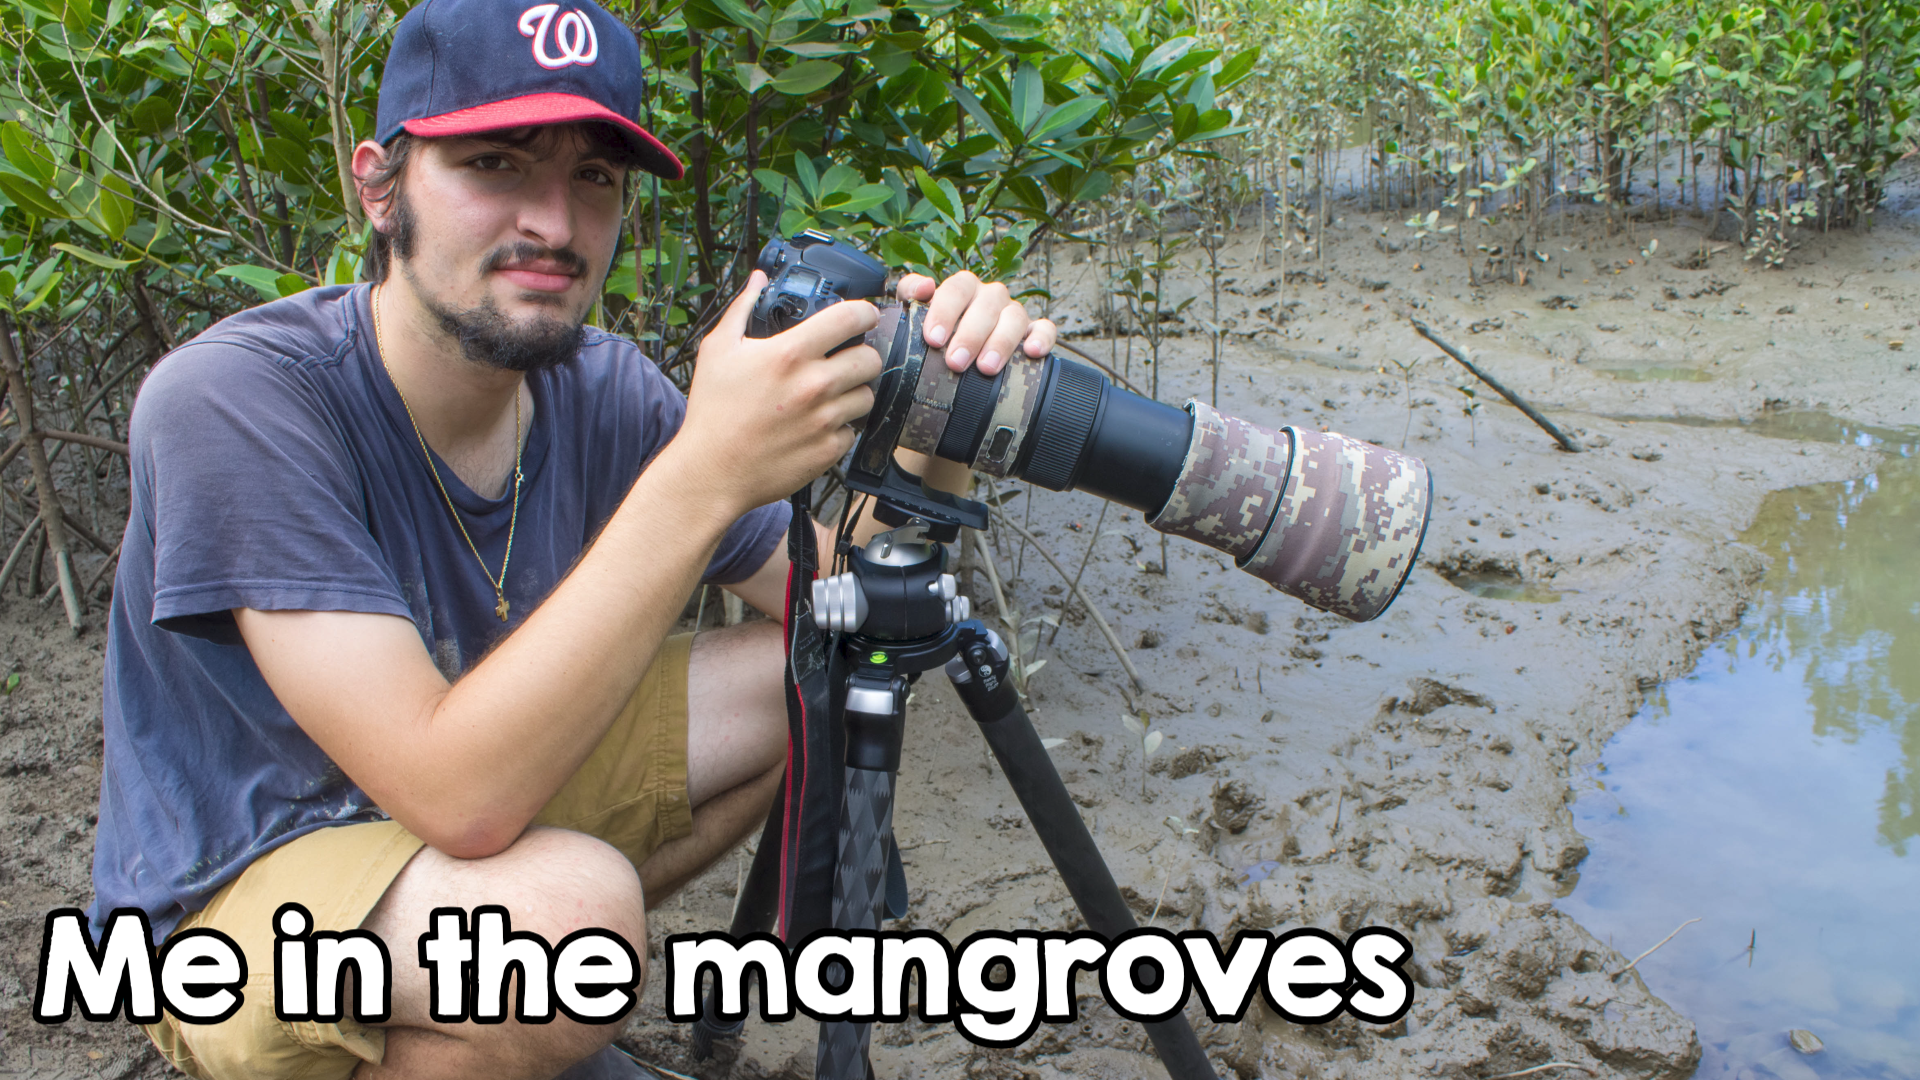
Do you dream of taking amazing wildlife photos? Well, that’s actually a very attainable goal. But, like any skill, it takes time to master. I’ve been taking wildlife photos for over a decade, and to this day, I’m still learning and improving. So, having said that, there’s a lot more to photography than simply picking up a camera and snapping photos.
Gear
First, you have to pick the right gear. If you have a smartphone (which you probably do), you already have a head start. Back in the old days, smartphones took potato quality photos, but now, they rival low budget cameras.
With phone cameras becoming more advanced, the playing field for photographers is finally leveling out. To get started as a photographer, you don’t need a fancy, expensive camera anymore! There are even telephoto lenses for smartphones!

If you decide to delve deeper into wildlife photography, you’ll probably want a more professional camera. Having a better camera won’t make you a better photographer, but to advance your work, better equipment is necessary. I mean, if you’re a guitarist, and you’re playing a $20 guitar from Walmart, you’re probably going to outgrow that guitar at some point.
On the opposite end of that, don’t blow all your money on the most expensive gear. Don’t let anyone convince you that a certain brand or price point will make or break your photos. You can have the world’s best camera and still take garbage photos. There’s a happy medium between skill and gear, so find a camera that fits your budget and go from there.
Once you have a camera in mind, think about what lenses you want for it. The lenses you buy will vary depending on your subject matter. Are you someone who likes bugs? Get a macro lens. Do you like birds or mammals? Get a telephoto lens. What about sea creatures? You’ll need an underwater housing, which is often WAY more expensive than the camera.
If you’re not sure about which cameras or lenses you should buy, pick out a couple cameras you’d like and use a camera comparison site. These sites will weigh all the pros and cons between two cameras or lenses and rate them accordingly.
Settings
Okay. Now that you have your camera and your lenses, you should start learning how to use the your camera’s manual settings. At first, this can be overwhelming, but over time, you’ll figure out shutter speed, aperture, and ISO. Play around with each setting and see what works and what doesn’t.
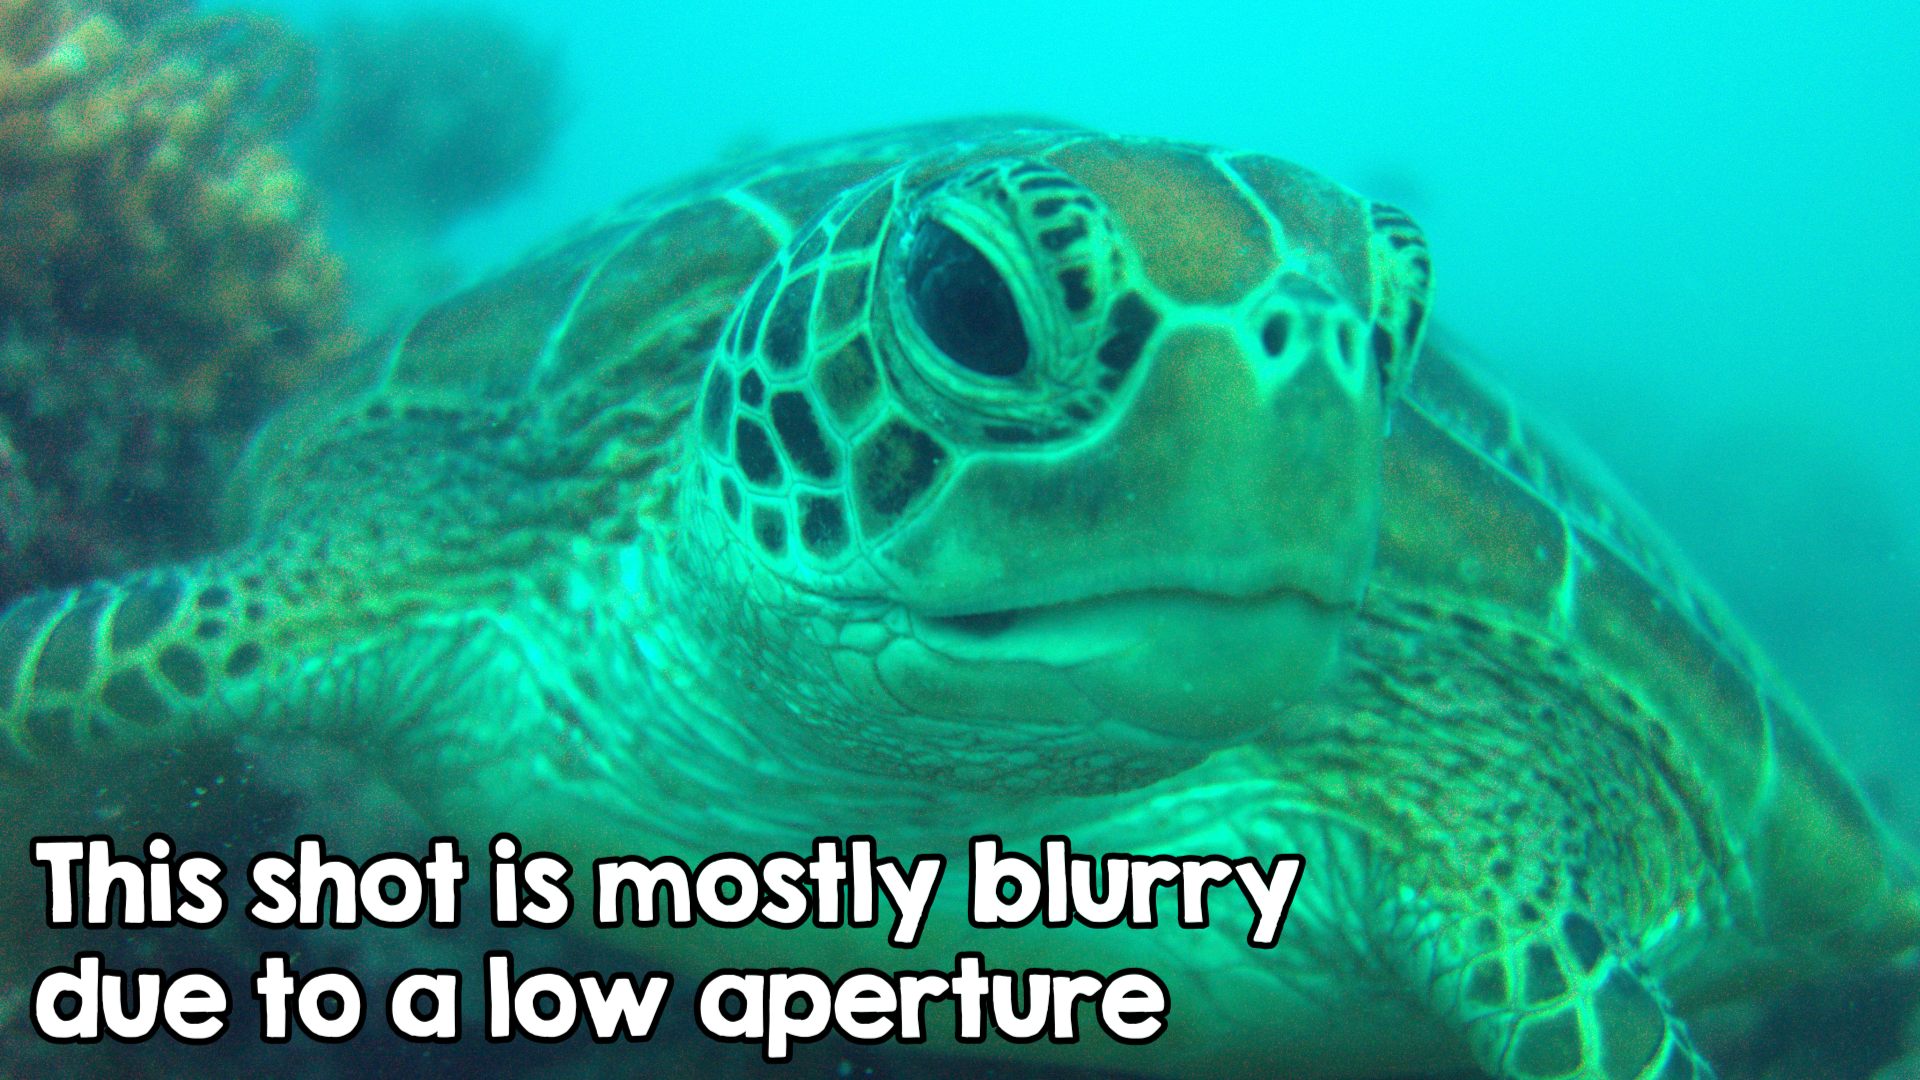
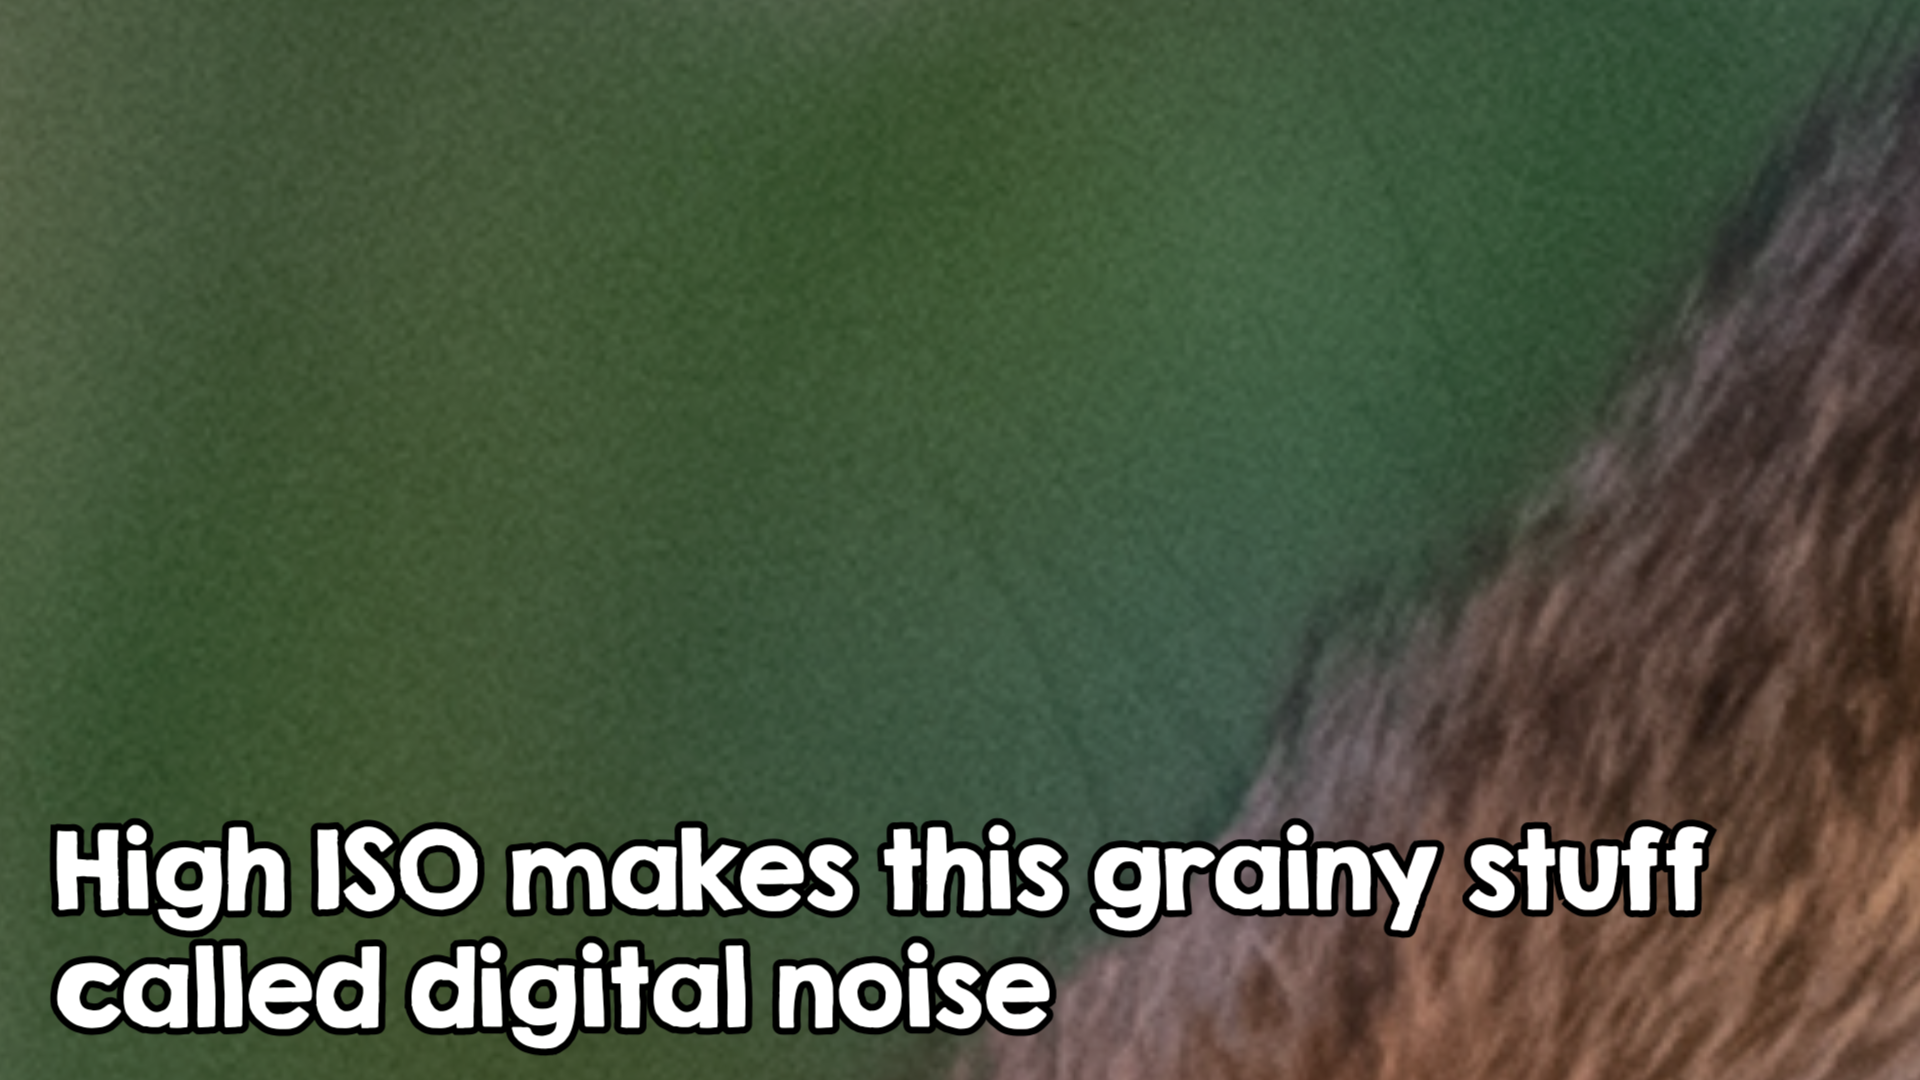
All three of these settings will affect your photos in different ways. Shutter speed affects the exposure of your photo as well as the blurriness of your subject. Aperture affects the exposure as well the focus on your subject. And ISO affects how light or dark your image will appear. Here are some examples:


I could go into detail on how all of these settings work together, but it’s better to learn in the field. Go to your local park and start taking pictures of ducks or insects. Try different shutter speeds and apertures. Experience will teach you far more than some talking dude on the internet (like me) ever can.
However, I will give you one cheat code. You ever see that weird, grainy stuff in photos? That stuff is called digital noise, and it means your ISO is too high, or your photo is underexposed. To prevent this, try to keep your ISO as low as possible without underexposing your photos. Adjust your shutter speed and aperture to the environment to avoid using a higher ISO.

Finding Wildlife
Finding wildlife can often be one of the most difficult parts of wildlife photography. Even in the most ideal conditions in areas where a certain species is regularly sighted, you can have awful luck. I know from experience because I’ve had numerous occasions where I didn’t find the species I was looking for. That’s where patience and determination enter the picture.
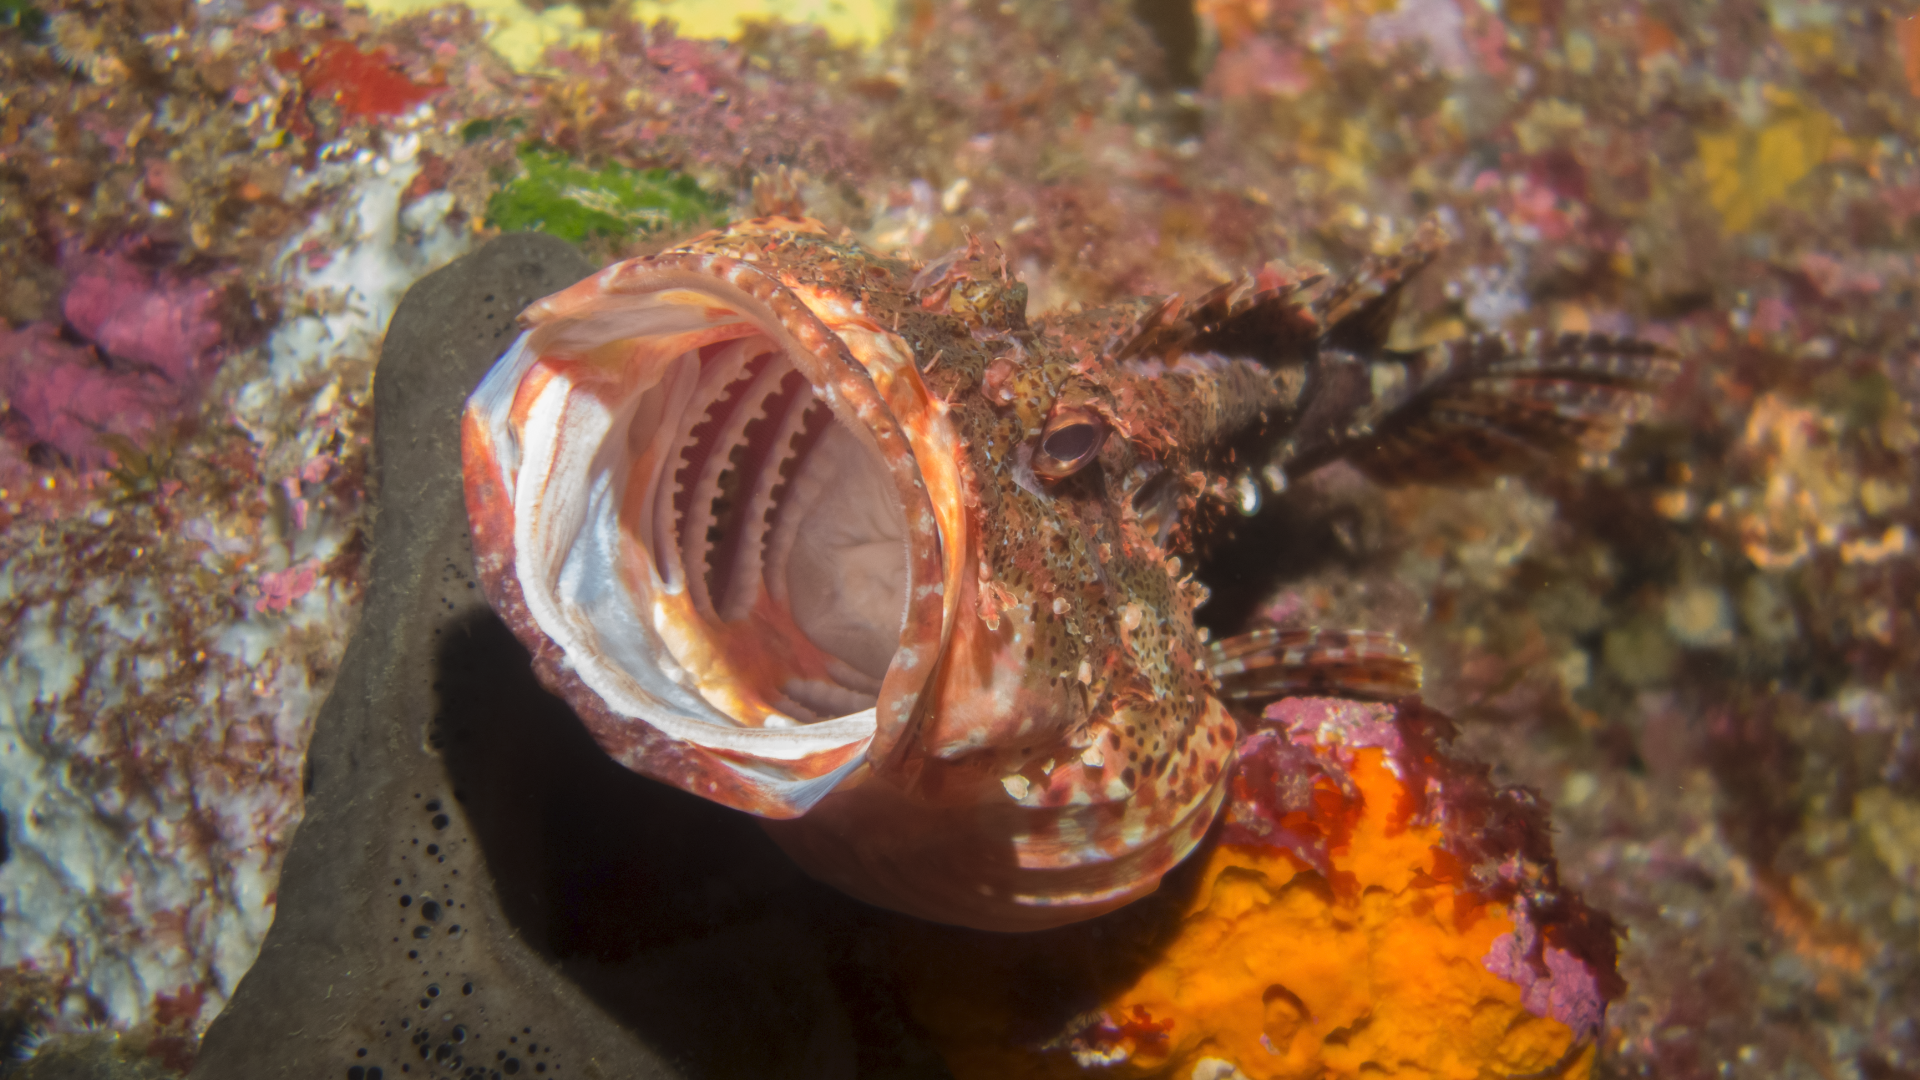
Wildlife photography is very much about “being in the right place at the right time”. For example, this scorpionfish happened to start yawning when I took his photo. Speaking of being in the right place, don’t overlook your local environments. You don’t have to travel halfway across the world (and spend obscene amounts of money) to have amazing wildlife encounters. There are likely numerous species within a few miles of your house. In fact, you may have your own little safari park in your backyard.
Even if you live in a city, surrounded by concrete and metal, you probably still have parks and green patches to explore. If coyotes can live in Central Park, you can bet there are plenty of other animals around. From the tiniest blades of grass to the tallest trees, always scan your environment. You might be surprised what manner of beasts you’ll find!
Most importantly, always be respectful of wildlife. Please don’t harass animals or put yourself in danger trying to get the best shot. It’s not worth it.
Editing Photos
Once you have all your photos, your next step is editing them. I used to think I was too good for editing photos, but I was so wrong!! If you don’t edit your photos, you’ll miss out on color correcting them and giving them a more polished look. Basically, unedited photos are like a car that has’t been painted.
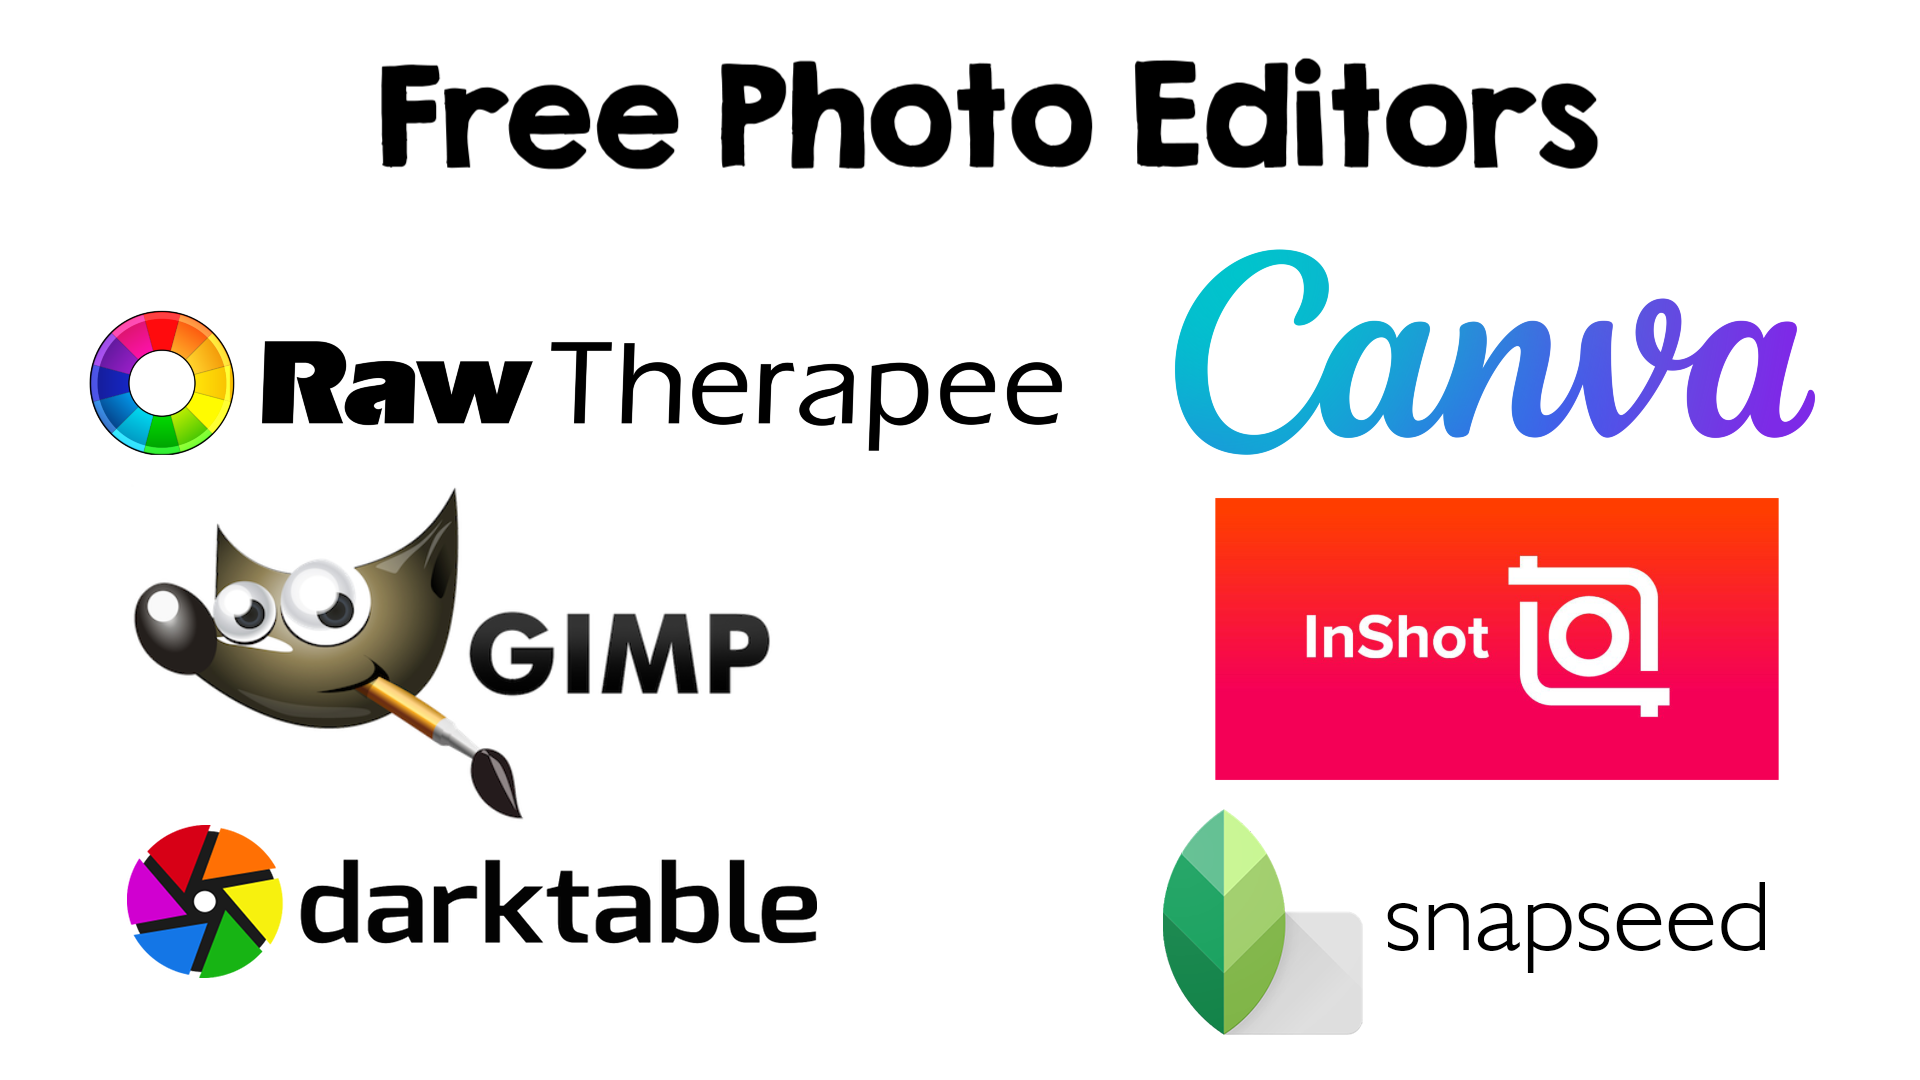
The bad news about editing photos is that photo editors are expensive. For example, Adobe Lightroom and Photoshop require pricey subscriptions. The good news is that there are plenty of free alternatives available online. Rawterapee, Gimp, and Darktable are great for editing on your computer, and Canva, Inshot, and Snapseed are great for editing on your phone. Also, if you’re looking for a free video editor, Da Vinci Resolve is a great choice.
I’m not going into detail on how to edit your photos here, but play around with the adjustments and see what happens. Remember, this is YOUR art, so it’s not up to me to decide how YOU feel about your work. I’m just here to get you started!
If you liked this article or have a question, please give it a like, leave a comment down below, and follow Tidewater Teddy! Thanks, and have a great day!
